Laser cutting
using computer-aided design to create three-dimensional objects layer by layer
01


Laser experiment
FIRST TRY-
Laser Cutting sandwhich wood Test.
In my experiment I wanted to test how the ppi level affects the way the laser cuts. I took a sandwich tree and left the speed and power variables constant. In the first attempt, the ppi level was over 100. You can see it really burned the wood. At 250 the wood burned but a little more And in 300 even more. Since the differences were similar, you don't notice the change in the result, but I understood that you need to change the PPI to get a better result.
SECOND TRY-
In my second experiment I wanted to test how the power level affects the way the laser cuts. I took a birch tree and left the variables speed (6%) and PPI fixed. In the first attempt (70) the wood was dark and as I lowered the variable the engraving power in the wood became lighter and the surrounding marks of the fire became less and less.
02
Woodworking joints
After we learned in class about joints- I realized that in order to create good joints - I need to calculate the thickness of the material. From my previous experience I found what is the ideal power and speed for cutting birch and I used this knowledge for the current task (POWER60, SPEED 30)
In this task I really enjoyed researching and learned a lot with the new machine. I tried the plane in two different types of wood where the connector is actually the thickness of the material. When the thickness was accurate, there was no need even for gluing, but the parts were assembled on top of each other in a perfect and strong way.
In addition, when I experimented with the thick material, I saw that in order to cut it, it is necessary to send it to be cut several times since the material is thick, so it is extremely important not to move the tree.
In the model of the tree, there was actually a need for threading, as well as the circle holding the wood wigs and turning them from one to three dimensions.
The task of the puzzle required learning what the correct POWER is for each type of color in order to show the different types of engraving. In the first attempt, I noticed at the beginning of printing that when there are very dense lines, you should make POWER low (the black color here) because the lines will not cut the puzzle into more pieces. Additional tips - Set the drawing always on the leftmost side - Set the engravings first and the cutting last.
In the model of the helicopter I examined different types of complex connections. The model itself consists of layers which unite them is a hole through which an additional connector is threaded in addition to the glue. In order to create a circular movement, it is important to check what is glued and what is not.
.png)


03
Pop up, Kerfing and Origami, 2D to 3D
In this task I chose to do kirigami. Like origami, its sister form, kirigami is a paper art that involves folding a single sheet of paper to create a sculpture. However, unlike the more familiar paper craft, kirigami allows paper cuts as well as folding. Typically, kirigami starts with a folded base, which is then unfolded; cuts are then opened and flattened to make the finished design. The thickness of your origami paper is crucial to determining the types of models that you can fold, but there are trade-offs. Super thin paper can be folded into many layers without being bulky, but is often fragile and can break if folded in the same place repeatedly. On the other side of the spectrum, super thick paper will be very hard to crease multiple times but will be very strong.
In order not to burn, the speed and power should be low. In order to make the fold - you need to choose a type of line consisting of small dots but not too dense so that they don't tear


02
2D to 3D
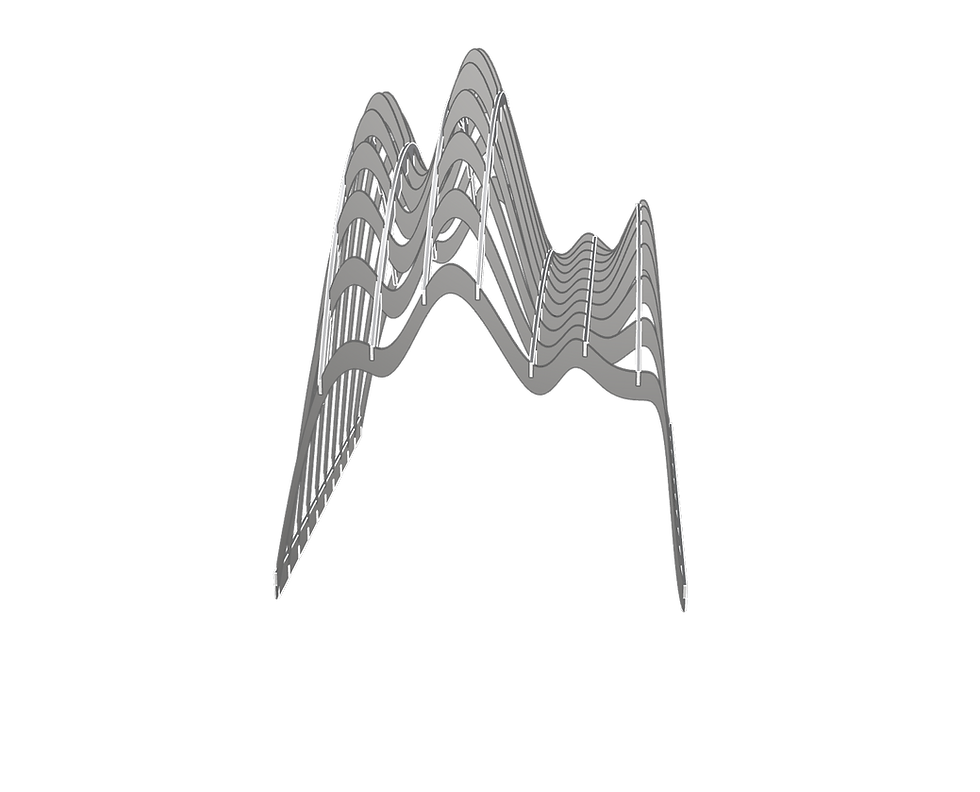
FIRST TRY-
In this task I chose to use Grasshopper to create two types of waffle pavilion and I After a number of failed times I learned a number of tips which I applied in the second printing of the pavilion:
- If there are many parts - write numbers on them!
- Thickness of material is also important in the design itself
- it is worth checking if the fragility of the material is suitable for the model you want to make.
- You can make a first attempt on a small piece and check that the first part connects and then continue without moving the piece of wood from its place on the machine.
- If the connection was still loose between the parts, you can change their scale in the new printer - reduce/increase spaces given a comparison line.
.png)


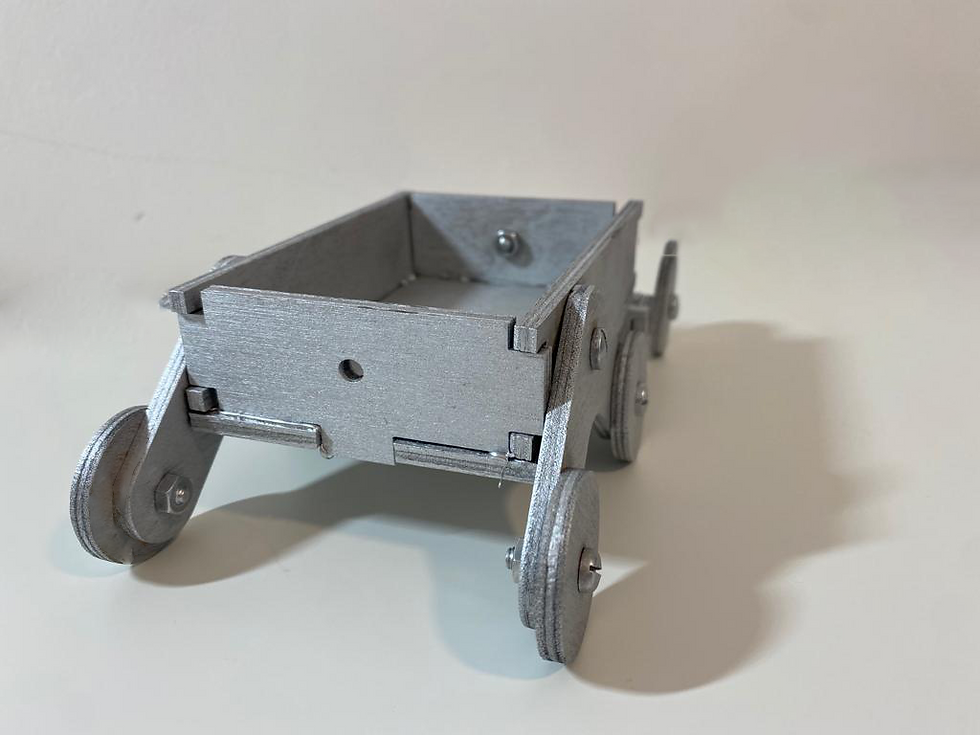
SECOND TRY-
Car modeling in RHINO software and its layout from 3D to 2D. Using puzzle JOINTS that were easy for me to stick and using small screws that connected to the joints of the car. From the previous project I educated and numbered the parts.
Through the previous exercises I learned what the ideal POWER and speed are that should be used with this type of wood. Another connection is made by screwing.